

How to Test Sprinkler Coverage in Your Yard

Updated: Oct 8
A green strip beside a brown patch is usually not a grass problem. It is often a coverage problem. When you test sprinkler coverage, you can see whether every part of the lawn and landscape is getting the water it needs - and whether water is being wasted on sidewalks, driveways, or the street.
For Middle Georgia properties, uneven watering can show up quickly during hot, dry stretches. A simple coverage check helps homeowners, HOA managers, and commercial property managers catch problems before they turn into thin turf, stressed shrubs, muddy areas, or an unnecessarily high water bill.
Why sprinkler coverage matters
An irrigation system is only useful when water reaches the right places at a consistent rate. Sprinkler heads can shift, clog, sink, crack, or get blocked by grass and mulch. A zone that looked fine last season may leave dry spots after mowing patterns change, landscaping grows in, or a vehicle crosses a sprinkler head near a driveway.
Coverage also affects more than appearance. Too little water can weaken turf and make it more vulnerable to heat and weeds. Too much water can encourage disease, wash away mulch, and create runoff. The goal is not to soak every area. The goal is to apply water evenly and only where it belongs.
How to test sprinkler coverage with catch cups
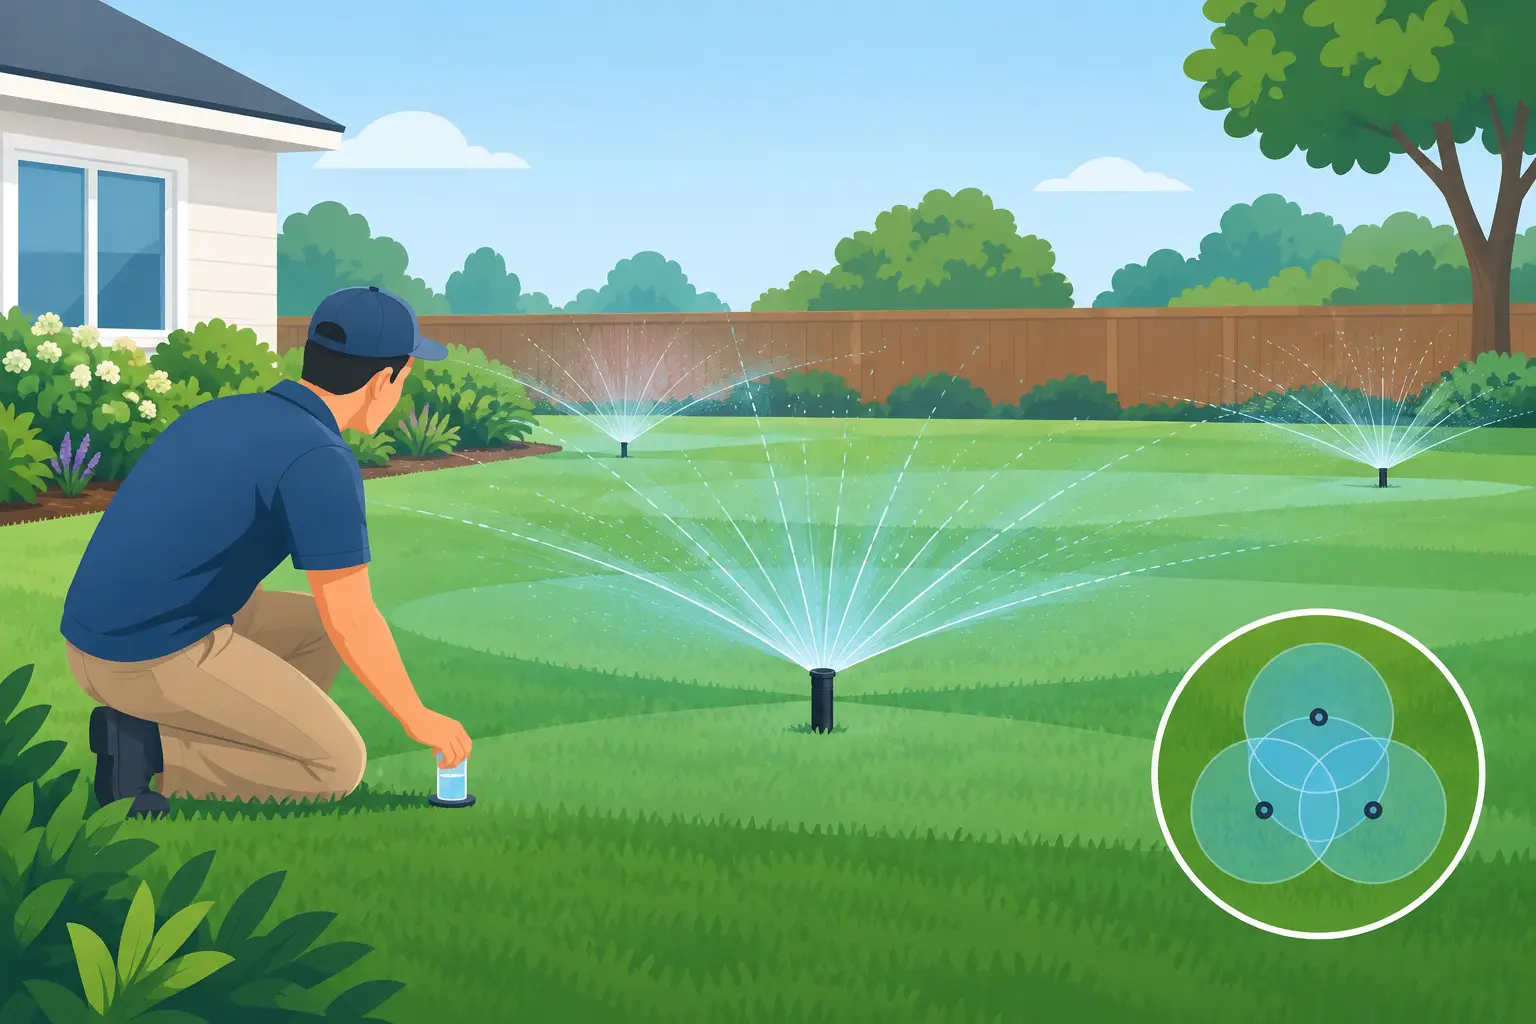
The most reliable way to test sprinkler coverage is with a simple catch-cup test. You do not need specialized equipment for a basic check. Use several straight-sided, matching containers, such as shallow plastic cups or small food cans. The containers should be the same size so the water depth can be compared fairly.
Place the cups throughout one irrigation zone before turning it on. Put a few near sprinkler heads, a few halfway between heads, and several in areas that tend to look dry or overly wet. Include cups along the edges of the lawn and around landscape beds. Keep them away from direct contact with a sprinkler head, since a hard stream hitting one cup will give a misleading result.
Run that zone for its normal watering time. After it finishes, measure the depth of water in each cup with a ruler. You are looking for a reasonably consistent amount across the zone. A small difference is normal, especially on slopes or near plantings. Large differences point to an adjustment, repair, or design issue.
For example, if most cups hold about one-quarter inch of water but a dry corner holds only a few drops, that corner is not receiving proper coverage. If a cup near the sidewalk is full while the lawn cups are nearly empty, a sprinkler may be aimed incorrectly or have the wrong nozzle.
Repeat the test for each zone. Do not assume the front yard, backyard, side yard, and landscape beds work the same way. Each zone may have different heads, water pressure, sun exposure, and plant needs.
Check the system while it is running
The cups tell you how much water lands in each area, but watching the system run helps explain why the results vary. Walk the property while each zone is operating and look for obvious issues.
A sprinkler head should rise fully above the grass and retract when the cycle ends. Heads that sit too low may be blocked by turf or mulch. Heads that do not pop up fully can deliver a weak or broken pattern. A head spraying straight into a shrub, fence, parked vehicle, or building is not helping the lawn.
Also watch for a fine mist blowing away in the breeze. This can happen when water pressure is too high or a nozzle is damaged. Large puddles, bubbling water around a head, or water that continues running after the zone stops can indicate a leak or valve problem.
What uneven coverage usually means
Not every coverage issue has the same fix. A single dry spot may be caused by a clogged nozzle or a head that has been turned slightly out of position. If several nearby areas are dry, the issue may be low pressure, poor spacing between heads, or a damaged pipe.
These common signs can help narrow it down:
Dry circles around sprinkler heads may mean the head is clogged, buried, or not popping up correctly.
Brown areas between heads can mean the spray patterns are not overlapping enough.
Water spraying onto pavement usually means the arc needs adjustment or the head has been bumped out of place.
A soggy section may point to a broken nozzle, a leaking fitting, or a zone running too long.
One zone that sprays much more weakly than the others may have a pressure issue, a partially closed valve, or a leak.
Head-to-head coverage is a useful rule for spray systems. In plain terms, water from one sprinkler should generally reach the next sprinkler head. This overlap helps prevent dry areas between heads. Rotor zones often require a different layout and longer run times, so they should not be judged by the same timing as spray-head zones.
Adjust run time after you measure output
A catch-cup test can also show how long a zone needs to run. Add the water from all cups and divide by the number of cups to find the average application for that run. If a zone averages one-quarter inch in 20 minutes and your lawn needs about one inch of water per week during dry weather, that zone would need roughly four 20-minute cycles per week, assuming rainfall does not provide part of that amount.
That is only a starting point. Soil type, shade, turf variety, slope, weather, and the type of sprinkler heads all matter. Sandy soil may need shorter, more frequent watering. Heavy clay soil can shed water if it is applied too fast. A shaded area often needs less water than a full-sun lawn, even when both are on the same property.
When water runs downhill or pools before it soaks in, try cycle-and-soak watering. Instead of running a slope for 30 minutes at once, run it for 10 minutes, let the water soak in, then run another short cycle later. This reduces runoff and gives the root zone a better chance to absorb moisture.
Do not ignore landscape beds
Lawn sprinklers are not always the best choice for shrubs, flowers, and newly planted landscaping. Spray heads can waste water on mulch and foliage, while drip irrigation delivers water closer to the roots. If a bed is growing well on one side and struggling on the other, check whether plants have blocked a spray pattern or whether drip emitters are clogged, cut, or covered by mulch.
New landscaping often needs closer attention than established plants. Roots have not spread far enough to find moisture beyond the planting area. At the same time, frequent shallow watering can keep roots near the surface. The right schedule depends on the plant material, soil, and weather, which is why a quick visual check after irrigation is worthwhile.
When to call for irrigation repair
Some adjustments are easy for a property owner to handle, such as clearing grass away from a head or changing a sprinkler arc. Other problems need a professional repair to avoid wasting water or damaging the system further.
Call for help when you see recurring leaks, cracked heads, low pressure across a zone, valves that will not shut off, damaged wiring, or coverage problems that remain after basic adjustments. It is also worth having the system evaluated when you add a patio, driveway extension, pool, new landscape bed, or other feature that changes the layout of the yard.
Peach Lawn Pros can help diagnose irrigation issues, repair damaged components, and make practical adjustments so your system supports the rest of your property care. For HOAs and commercial properties, regular checks can prevent a small irrigation issue from becoming a visible curb-appeal problem across a larger site.
A sprinkler system should not be something you set once and forget. Check coverage at the start of the watering season, after landscape changes, and anytime you notice dry grass or runoff. A few cups, a ruler, and a careful walk through the yard can reveal exactly where your water is going - and where it should go instead.
Comments